User:Wolfsbane/Sandbox: Difference between revisions
Jump to navigation
Jump to search
No edit summary |
|||
| Line 19: | Line 19: | ||
Override the terrain, and wipe out everything else. No point using more than one of these. The "New Seed" button gives a different random terrain. The green minimap in the bottom left shows a preview of the terrain that will be generated. | Override the terrain, and wipe out everything else. No point using more than one of these. The "New Seed" button gives a different random terrain. The green minimap in the bottom left shows a preview of the terrain that will be generated. | ||
*fBm Fractal - basic hilly terrain. Hill frequency is (more or less) the number of hills in the area. Roughness is the steepness of the hills (I think - it doesn't actually seem to do much). Detail adds smaller hills between the large ones. This is the most useful for most areas. | *fBm Fractal - basic hilly terrain. Hill frequency is (more or less) the number of hills in the area. Roughness is the steepness of the hills (I think - it doesn't actually seem to do much). Detail adds smaller hills between the large ones. This is the most useful generator for most areas. | ||
[[MBW_Screen2.jpg]] | [[File:MBW_Screen2.jpg]] | ||
*Rigid MultiFractal - ridges or sand dunes. This is the terrain along the SS-Elms route. Frequency and detail as above. | *Rigid MultiFractal - produces ridges or sand dunes. This is used for most of the terrain along the SS-Elms route. Frequency and detail as above. | ||
[[File:MBW_Screen3.jpg]] | |||
*Canyon Fractal - Produces steep-sided canyons. Think of Sarsfield, or The Maze. Chaos adjusts how winding the canyons are. With low numbers of canyons and moderate roughness, this can produce rolling hills. | *Canyon Fractal - Produces steep-sided canyons. Think of Sarsfield, or The Maze. Chaos adjusts how winding the canyons are. With low numbers of canyons and moderate roughness, this can produce rolling hills. | ||
[[File:MBW_Screen4.jpg]] | |||
''Low Chaos'' | |||
[[File:MBW_Screen5.jpg]] | |||
''High Chaos'' | |||
*Sinus - produces small bumps all over the map. The graph will be important for a lot of operations, so it's worth explaining how it works. The height of the graph shows how much of that size effect will be part of the final terrain - large bumps on the left, small ones on the right. A couple of examples: | *Sinus - produces small bumps all over the map. The graph will be important for a lot of operations, so it's worth explaining how it works. The height of the graph shows how much of that size effect will be part of the final terrain - large bumps on the left, small ones on the right. A couple of examples: | ||
Revision as of 10:17, 22 November 2010
Creating a Wilderness Map
Terrain Generation
Unlike race tracks, the whole area is important.
Look at other maps in the area, try and work out how they were created.
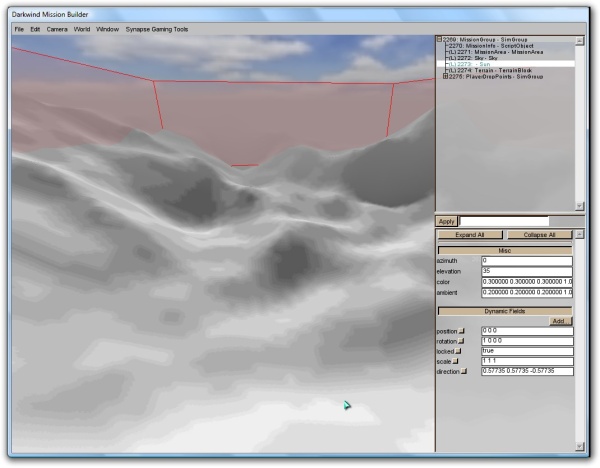
Using an empty map to demonstrate. Sun is turned down to reduce glare, fog is removed.
Red outline - terrain repeats. Can change size of area.
Terrain terraform editor mode. Two types of transformation - generators and modifiers.
Generators
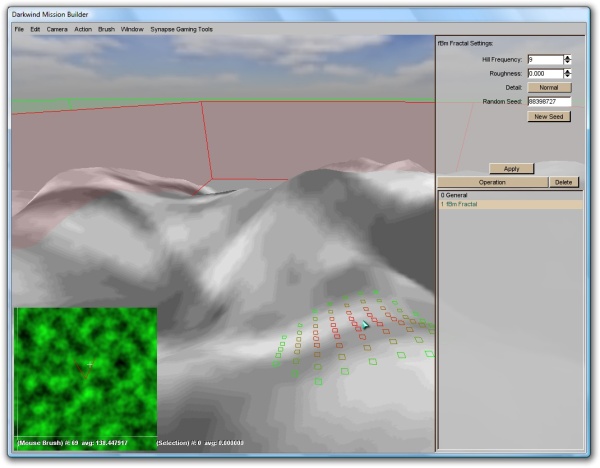
Override the terrain, and wipe out everything else. No point using more than one of these. The "New Seed" button gives a different random terrain. The green minimap in the bottom left shows a preview of the terrain that will be generated.
- fBm Fractal - basic hilly terrain. Hill frequency is (more or less) the number of hills in the area. Roughness is the steepness of the hills (I think - it doesn't actually seem to do much). Detail adds smaller hills between the large ones. This is the most useful generator for most areas.
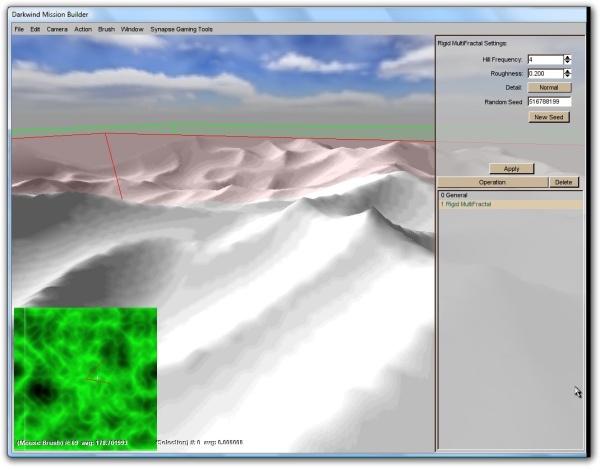
- Rigid MultiFractal - produces ridges or sand dunes. This is used for most of the terrain along the SS-Elms route. Frequency and detail as above.
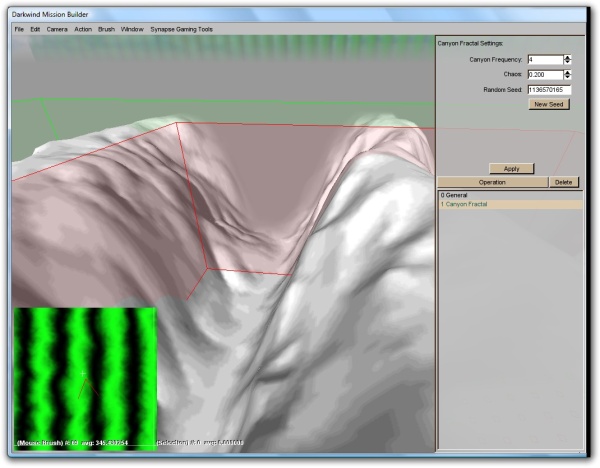
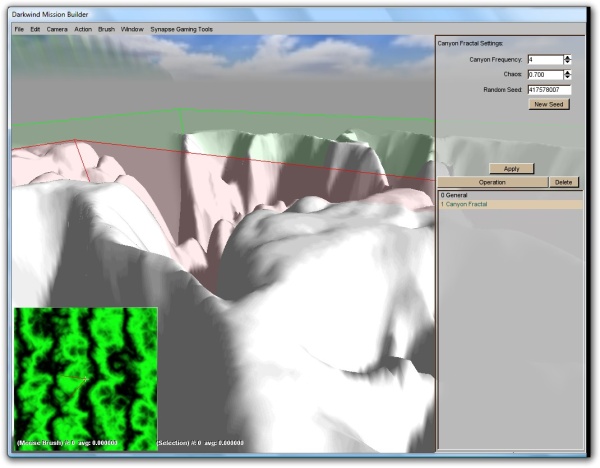
- Canyon Fractal - Produces steep-sided canyons. Think of Sarsfield, or The Maze. Chaos adjusts how winding the canyons are. With low numbers of canyons and moderate roughness, this can produce rolling hills.
- Sinus - produces small bumps all over the map. The graph will be important for a lot of operations, so it's worth explaining how it works. The height of the graph shows how much of that size effect will be part of the final terrain - large bumps on the left, small ones on the right. A couple of examples:
- Bitmap - claims to use an 8 bit bitmap as the base for a terrain. Unfortunately I can't work out which folder it looks in for bitmaps. Anyone who works it out, let me know.
Modifiers
- General - sets max and min terrain height. This is the biggest effect on the "hilliness" of the terrain. This is always the first transformation, and can't be deleted.
Other modifiers work in order from top to bottom. They can be layered to produce complex effects.
- Turbulence - adds extra noise and roughness to the terrain. Requires a new seed before seeing any effects.
- Smoothing - the opposite. Smooths out rough edges and makes a more even, rolling terrain. Number of iterations has the biggest effect on the outcome.
- Smooth Ridges/Valleys - smooths only the top of mountains and ridges. Useful to avoid sharp peaks that cars have trouble driving over.
- Filter - applies a transform based on the height of the terrain - each input height can be linked to an output. Can be used to shave the tops of mountains, and other clever things. I haven't played with it much, but here are a couple of examples.
- Thermal Erosion/Hydraulic Erosion - don't appear to do anything, although I'm open to correction on this.
